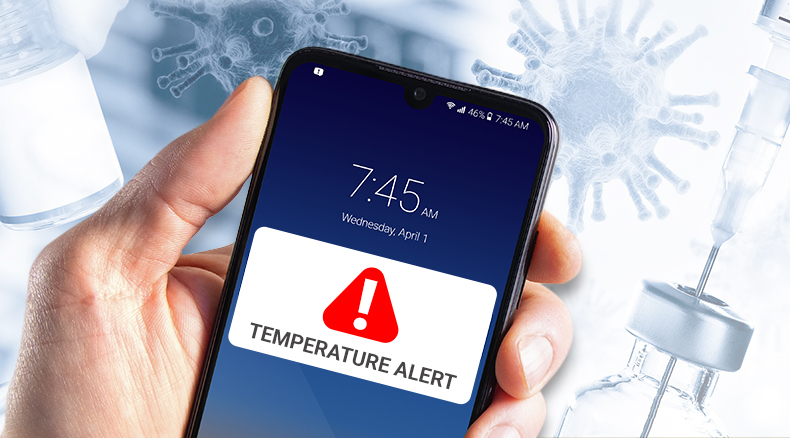
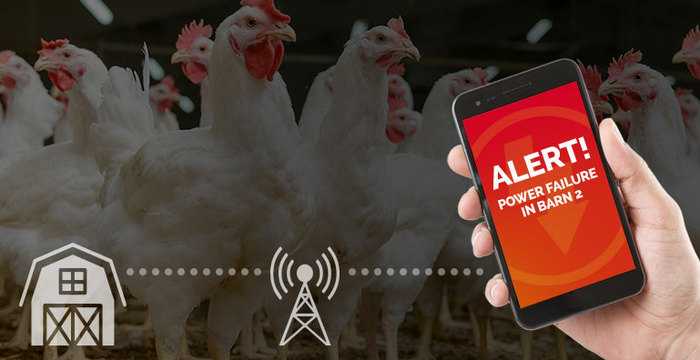
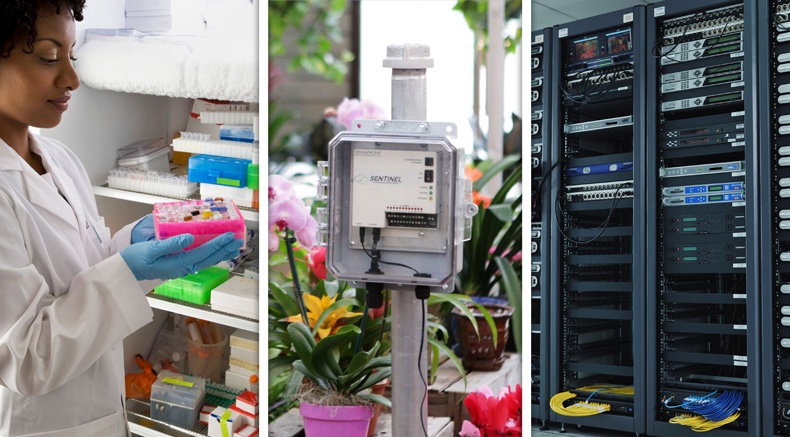
The Sensaphone Sentinel has found a home in many varying applications...from monitoring valuable greenhouse inventory to monitoring the temperature in refrigerators storing critical vaccines during a pandemic. The Sentinel also monitors many pump and lift stations that keep the water running in your community and to the livestock in farms and barns. Most often our products are installed by trained installers or electricians, but they are actually simple enough to be installed by most do-it-yourselfers.
Once you’ve decided which sensors and accessories are required, you’ll want to find a clean, dry place to install your Sentinel. If it can’t be installed somewhere clean, you can order it in a weatherproof NEMA-4X rated enclosure. This will help protect the electronics inside, as well as any connected wires that could be pulled out if someone tripped on them. The Sentinel also comes with mounting hardware. Ideally, you should mount it near an electrical outlet and close to the sensors it will be monitoring.
Sensor Wiring
The Sentinel is compatible with a wide variety of sensors including normally open/normally closed contacts, 2.8K- and 10K-type temperature sensors, and any sensors that provide a 4–20mA current output. You can find a selection of compatible sensors and accessories on the Sensaphone website.
Most sensors can be connected to the Sentinel using inexpensive two-conductor twisted-pair cable as small as #24 AWG. If the sensor is located far from the unit or if you are running cable in an electrically noisy environment, you should consider using shielded cable. This will shield the signal from electrical interference and prevent false readings and/or damage to the unit. For your convenience, Sensaphone has 22-gauge shielded cable available in 50’ lengths (part number FGD-0010), and the screwdriver required to secure the sensor wires is included with the Sentinel.
Dry Contact Type Sensors
Dry contact sensors are set in one position—normally open or normally closed. They signal the Sentinel to go into alarm when the sensor’s position changes. These sensors are most commonly associated with security, water detection sensors or alarms from third-party devices. The sensors are either open or closed, on or off. They will indicate if there is water on the floor or there isn’t, or if a window or door is either open or closed.
Dry contact sensors can be connected directly to the Sentinel without regard for polarity. Choose a zone and connect the wires to the corresponding screw terminals for that zone. Watch as we install and program a dry contact type sensor in the video below.
Installing Temperature Sensors
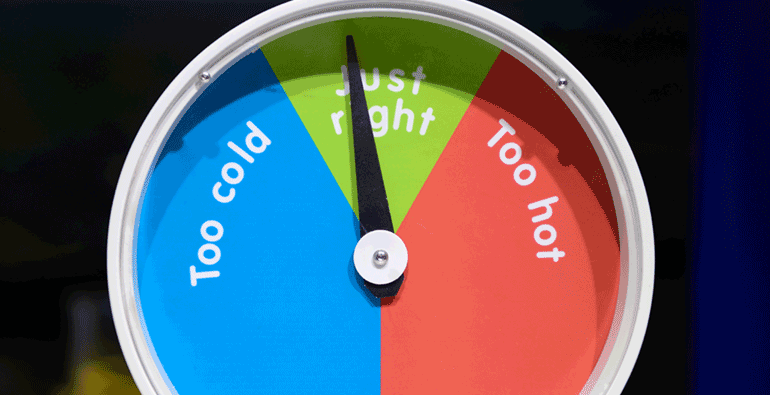
The Sentinel is compatible with a wide variety of temperature sensors that are capable of monitoring temperature ranges from -109 to 115 °F (-85 to 57 °C) with 2.8K-type sensors and -87 to 168 °F (-66 to 76 °C) with 10k-type sensors. Temperature sensors can be connected directly to the zone terminals without regard for polarity. Choose an alarm input and connect the wires to the corresponding screw terminals for that zone. 2.8K and 10K temperature sensors are available from Sensaphone. Watch as we install and program a temperature sensor in the video below.
Installing 4-20mA Type Sensors
The inputs on the Sentinel are compatible with transducers that produce an analog output current of 4–20mA. These types of transducers are available to measure tank and well levels, extreme temperatures, air pressure, water pressure, flow, voltage, current, rotational speed, etc. They provide a real-world value to the Sentinel. Their installation can be more challenging than both the dry contact and temperature sensors, as 4–20mA sensors need their own power source. A humidity sensor is installed and programmed in the video below.
Programming
Programming a Sentinel system is as easy as navigating to the sensaphone.net website. As soon as you create a free account and register your device, you can begin programming. Registering with our cloud system is a very simple process. However, there are some things you’ll need to know. The most important is the serial number of the Sentinel you’re registering. This can be found on the back of the device or inside the enclosure. The first few digits are always the same: 00:07:F9.
Examples of how to program each type of sensor installed to the Sentinel can be seen in the videos above, and an example of the account creation and device registration can be seen in the video below.
For more information or help finding the right solution for your facility, contact a Sensaphone expert today.