Sensaphone manufactured its first home monitoring system right in Pennsylvania over 30 years ago. Back then it was common for an electronics company to manufacture its products in the United States, but now we’re one of the remaining few that still do. U.S. Department of Commerce statistics show that the trade deficit in electronics products was more than any other manufacturing industry.
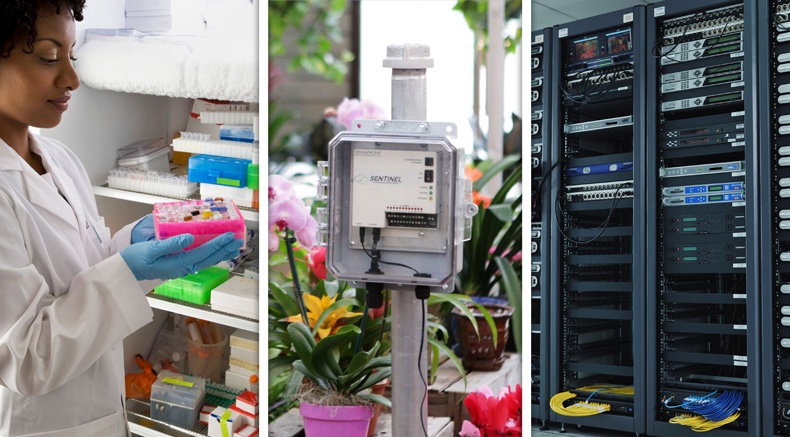
We are proud that more than 400,000 Sensaphone systems have been installed around the world – remote home monitoring products as well as systems for monitoring remote property and equipment in industries like oil & gas and water & wastewater. We believe our quality USA craftsmenship is a key reason we have the highest success rate in the industry. We are often asked how they are made, so here is an overview.
PCBs: the central nervous system
At the core of every Sensaphone is a printed circuit board, or PCB for short. By “printing” paths of copper onto a fiberglass material, electronic signals can be routed properly so as to make a functioning Sensaphone. In many ways, the PCB can be thought of as the central nervous system of a Sensaphone.
Electronic components, often numbering in the hundreds are mounted onto the board and are the sources and destinations of these electronic signals. Placing these by hand would be unfeasible due to the sheer number of parts that need to be placed.
Step 1: Apply solder
Solder, an alloy mode of several metals with the consistency of peanut butter, is applied to the proper locations of the PCB. A squeegee and a stencil are used to apply the the solder paste in the proper quantity and locations of the PCB. The electronic components are now ready to be placed.
Step 2: Place components
A pick and place machine is used to “pick” up parts located in a certain position in the machine and then “place” them into their proper locations on the PCB. The machine picks up the part by using a tiny vacuum nozzle, takes a picture of the part to determine its orientation when picked up, and then rotates the part to its proper orientation before placing it down on the PCB. Each part only takes a fraction of a second to be placed onto the circuit board, allowing a complete circuit board to be assembled in minutes.
Step 3: Reflow
Since the solder printed in step 1 is still a paste, it doesn’t do a very good job of keeping the parts on the PCB. So, the circuit boards are placed in an oven that slowly heats them up in a very precise manner to a temperature close to 500°F. The tiny metal balls inside the solder paste melt and turn the paste into a liquid that flows around the metal pins of each component and the copper of the PCB. Once the board temperature returns to room temperature, the liquid solder cools into a very durable solid.